New Fav Film Stock - Kodak Pro Image 100 by Kenton Waltz

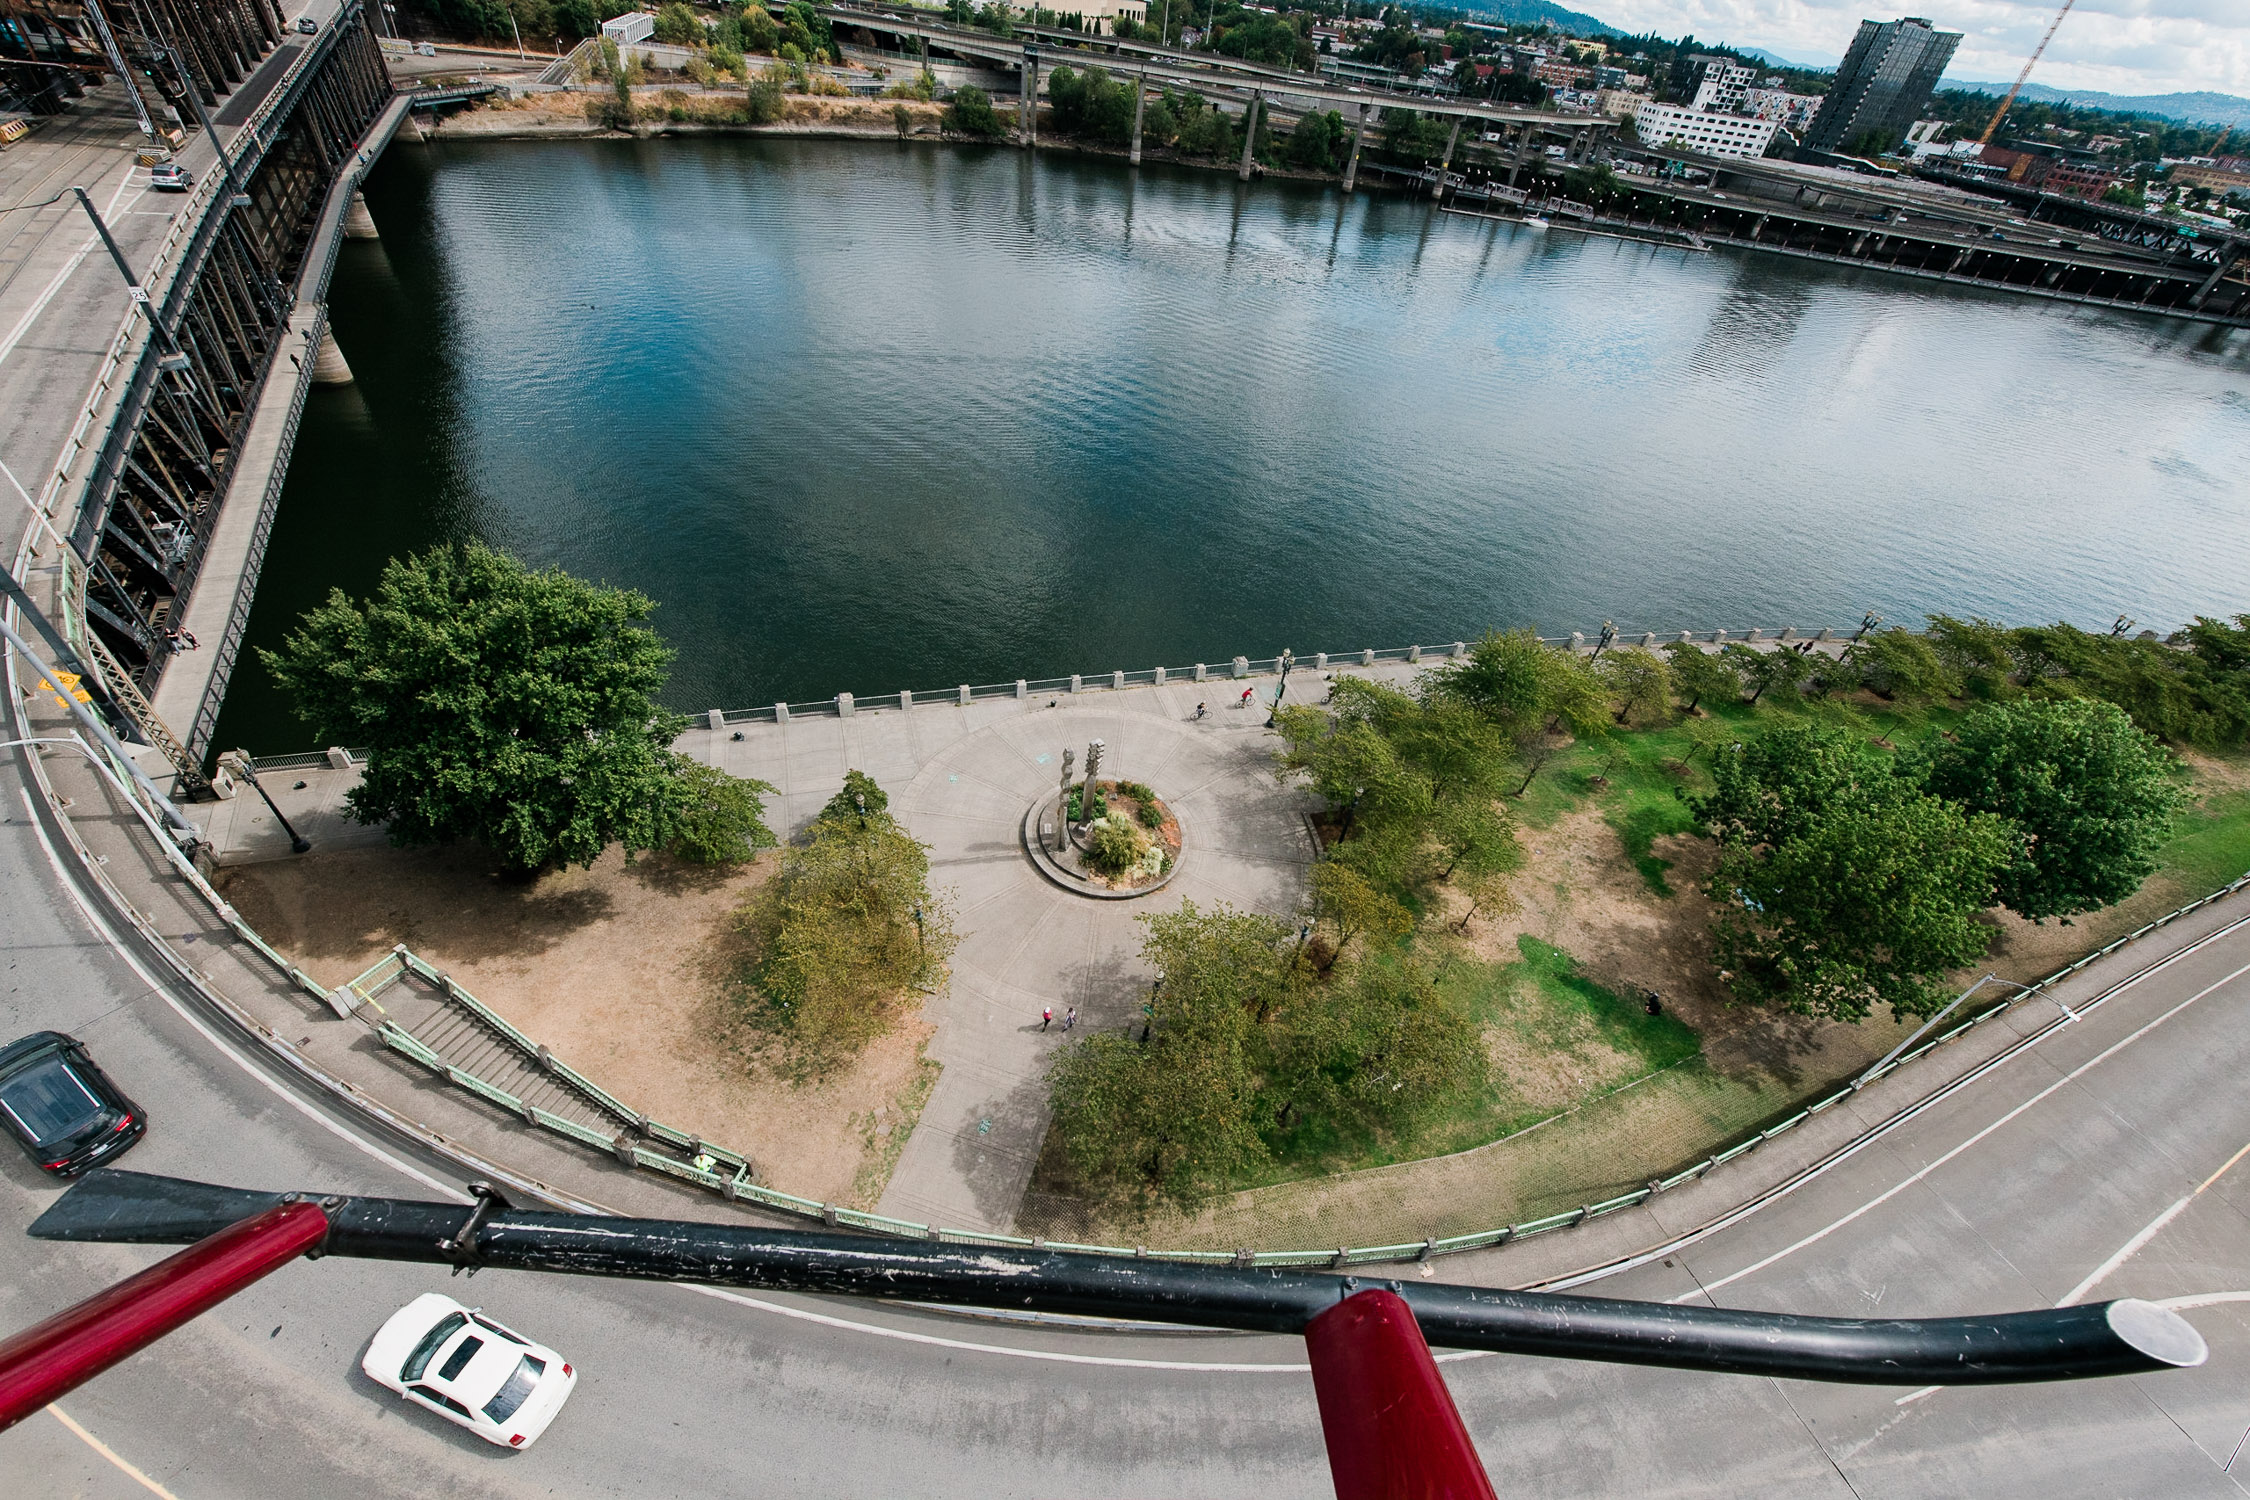
I find a lot of solace in shooting film. When I’ve been having a stressful week or I have been shooting tons of digital photography, film has a way of soothing my anxious mind. Where digital has a way of being deliverable focused, film is process focused. When I shoot film, I’m focused on seeing, composing, and exposing.

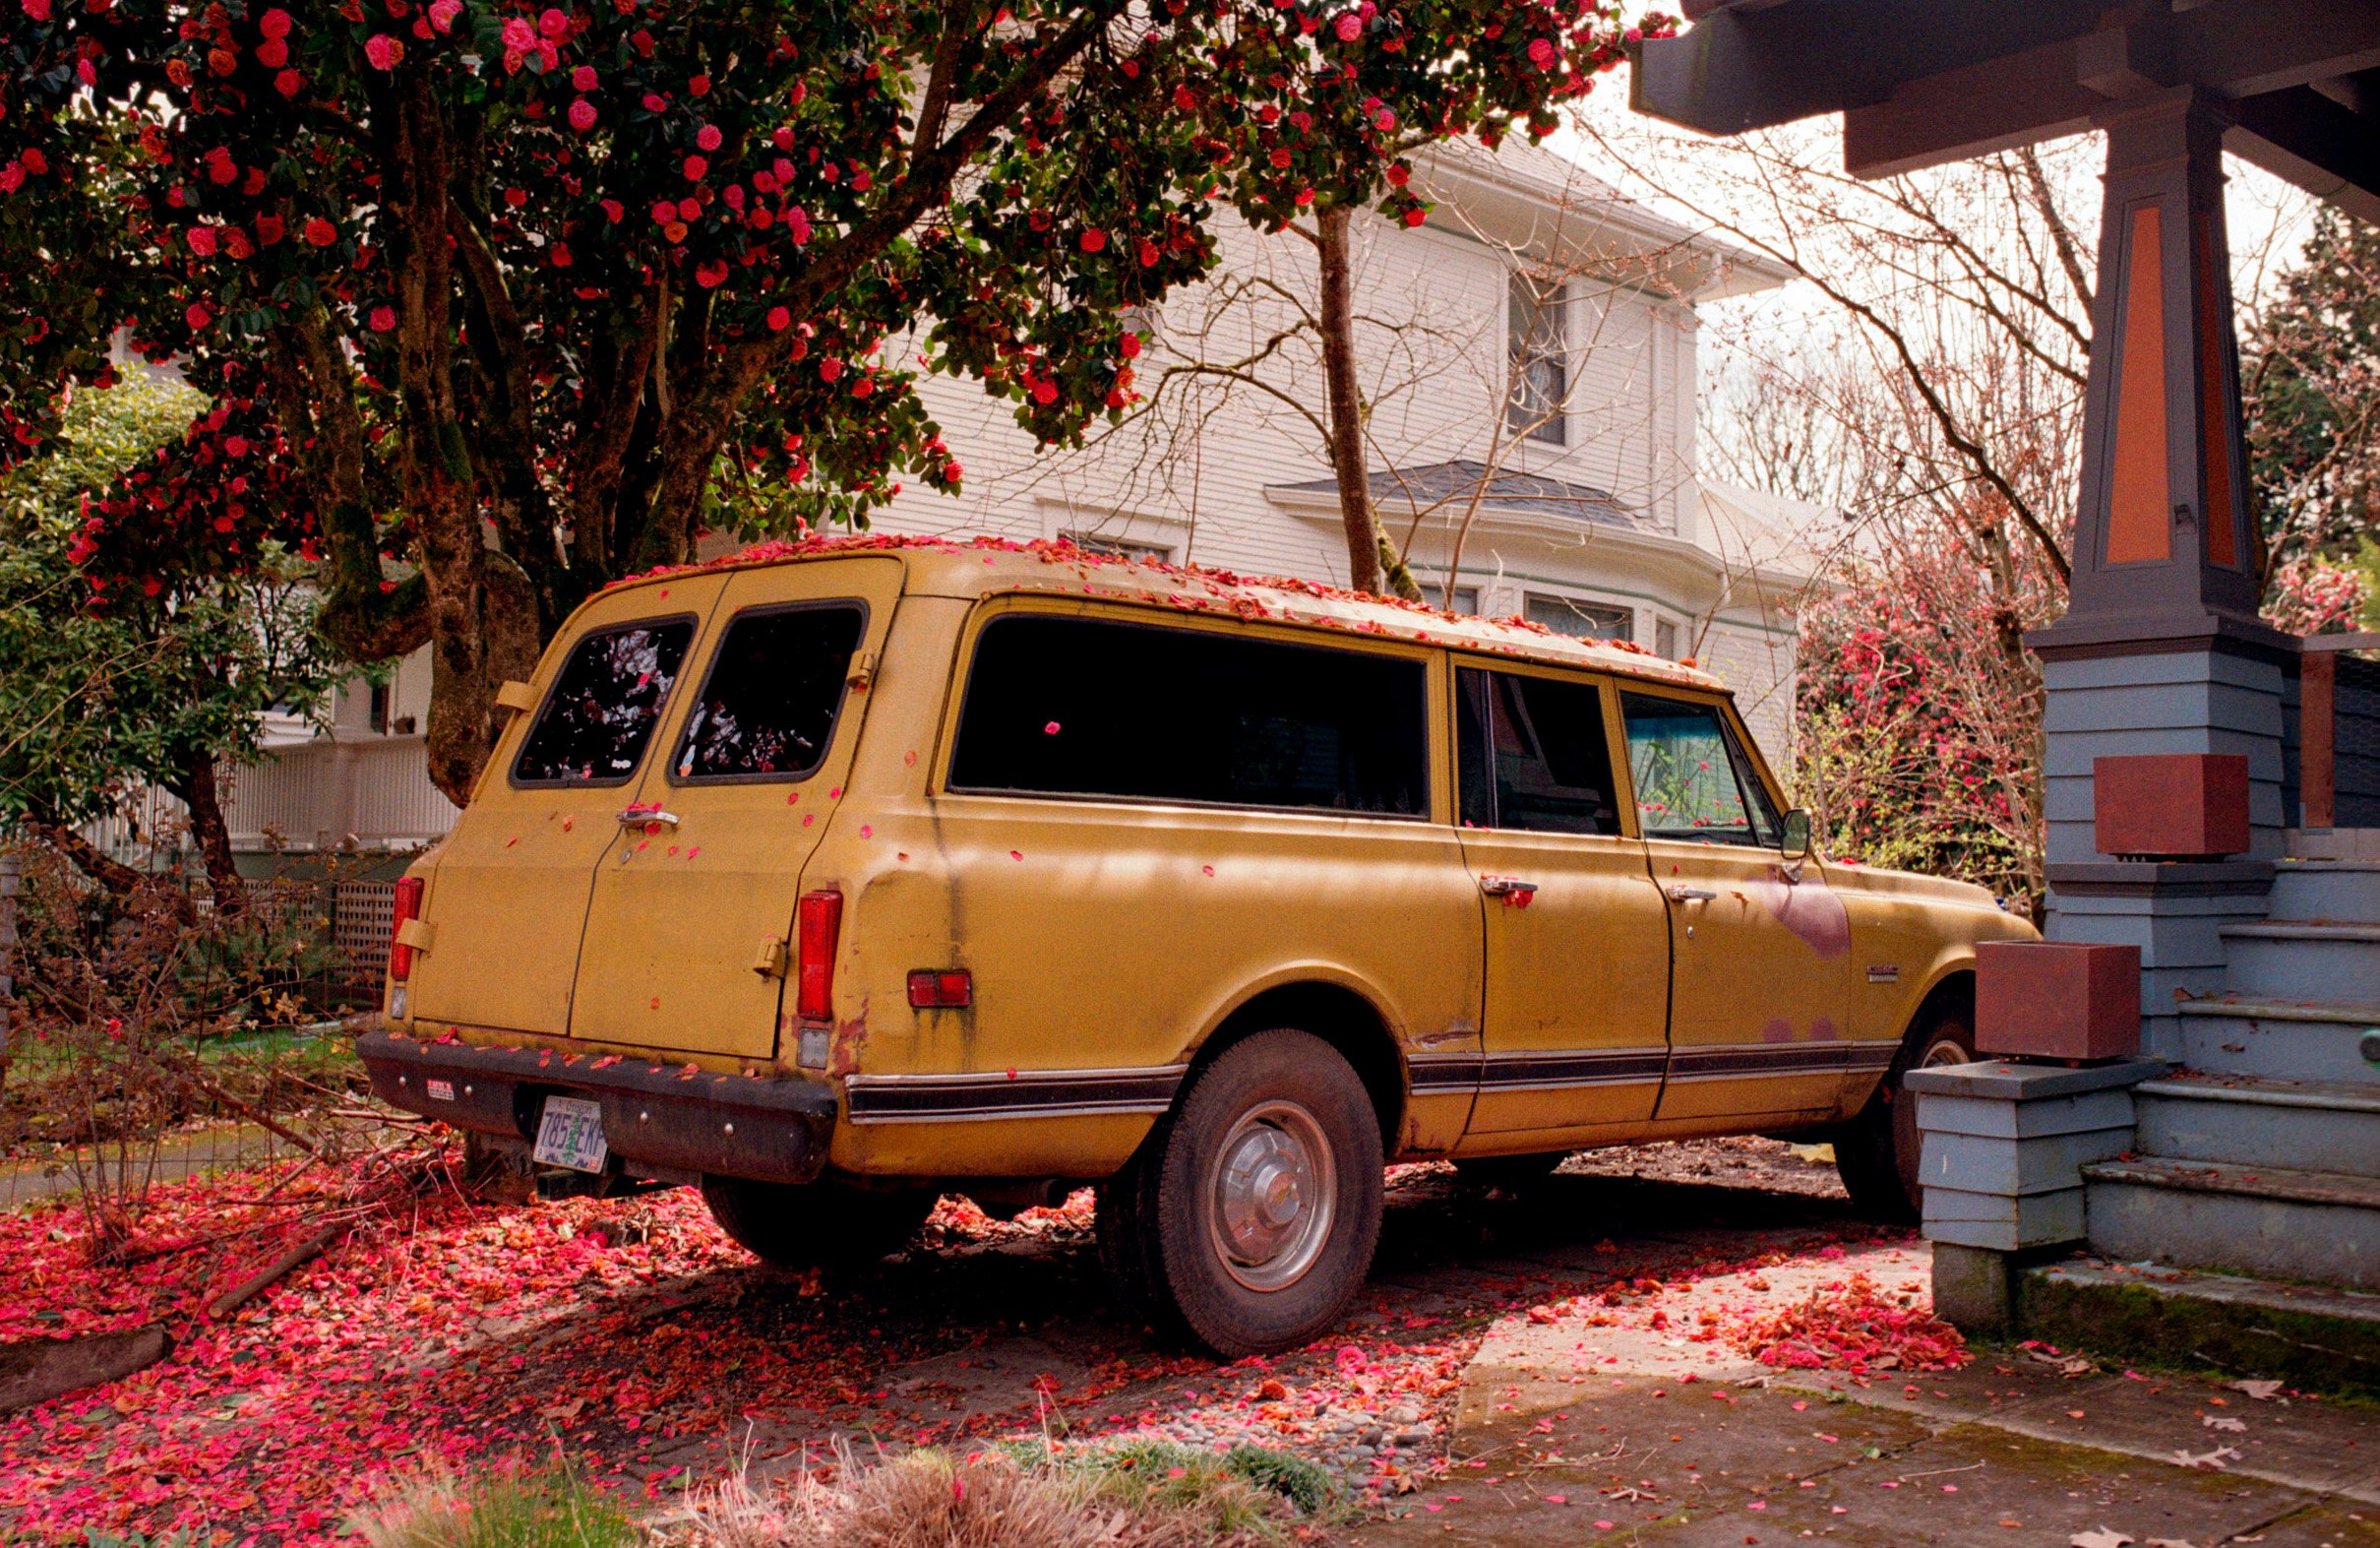
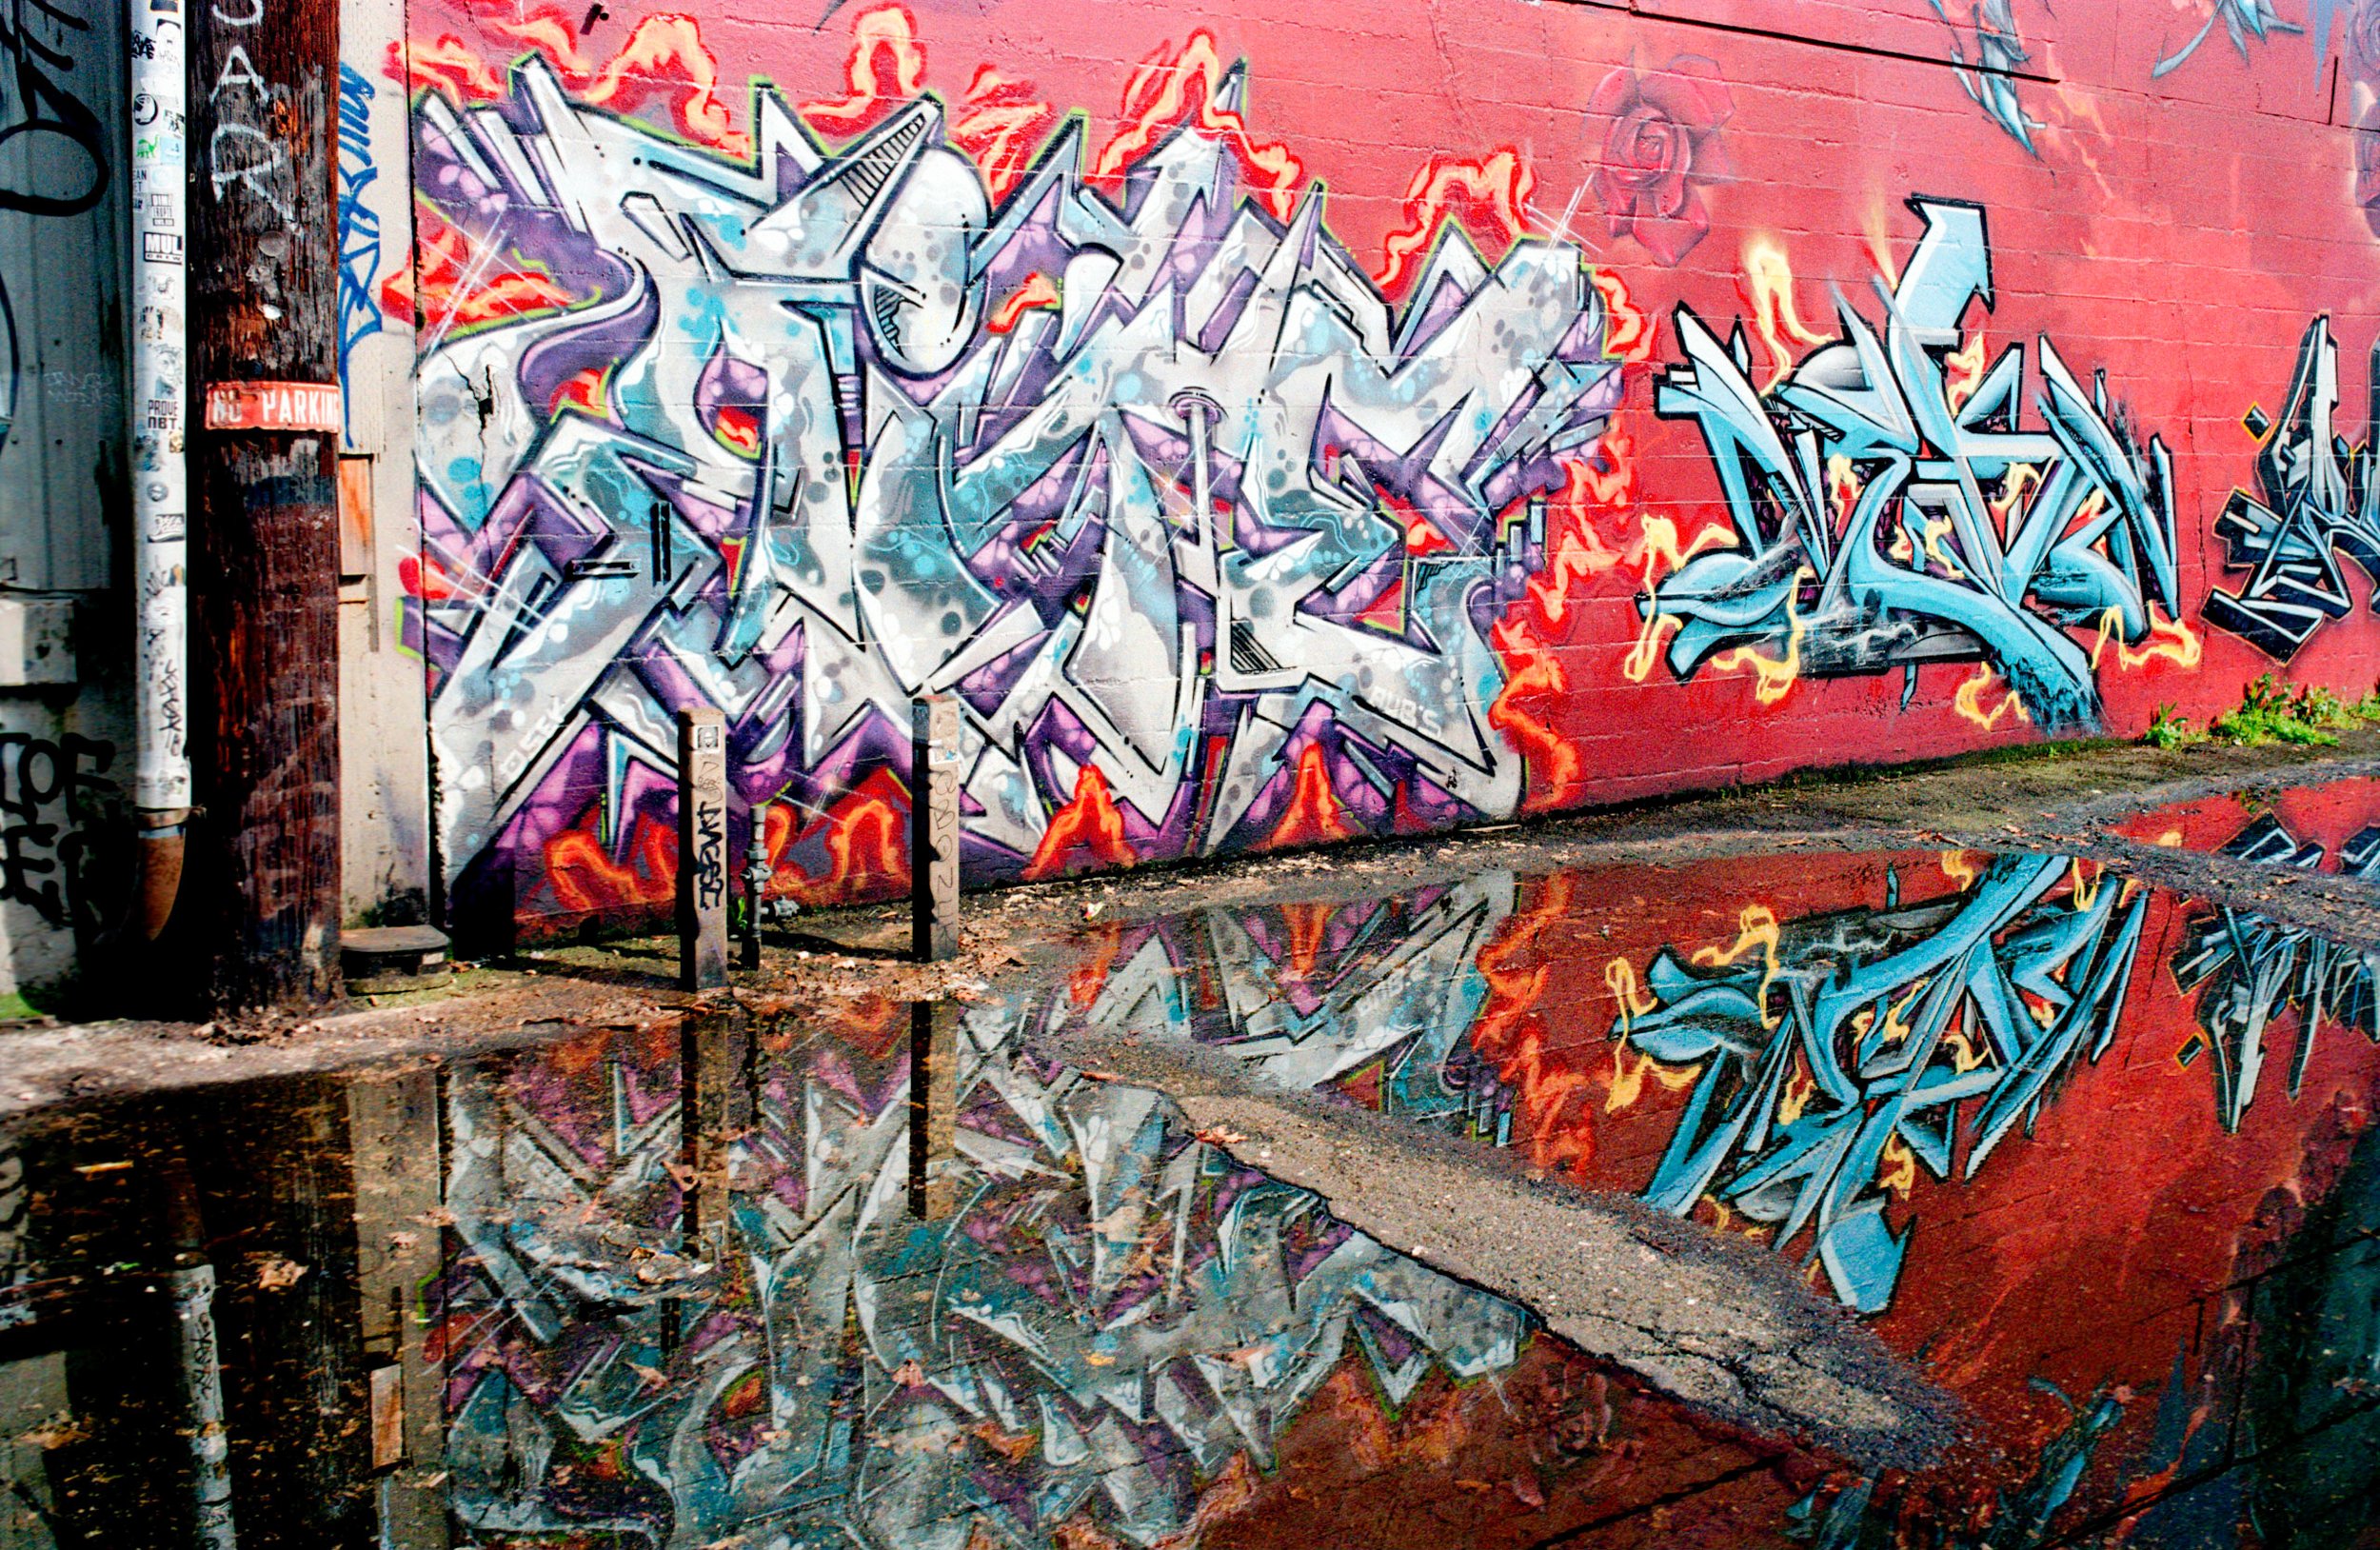
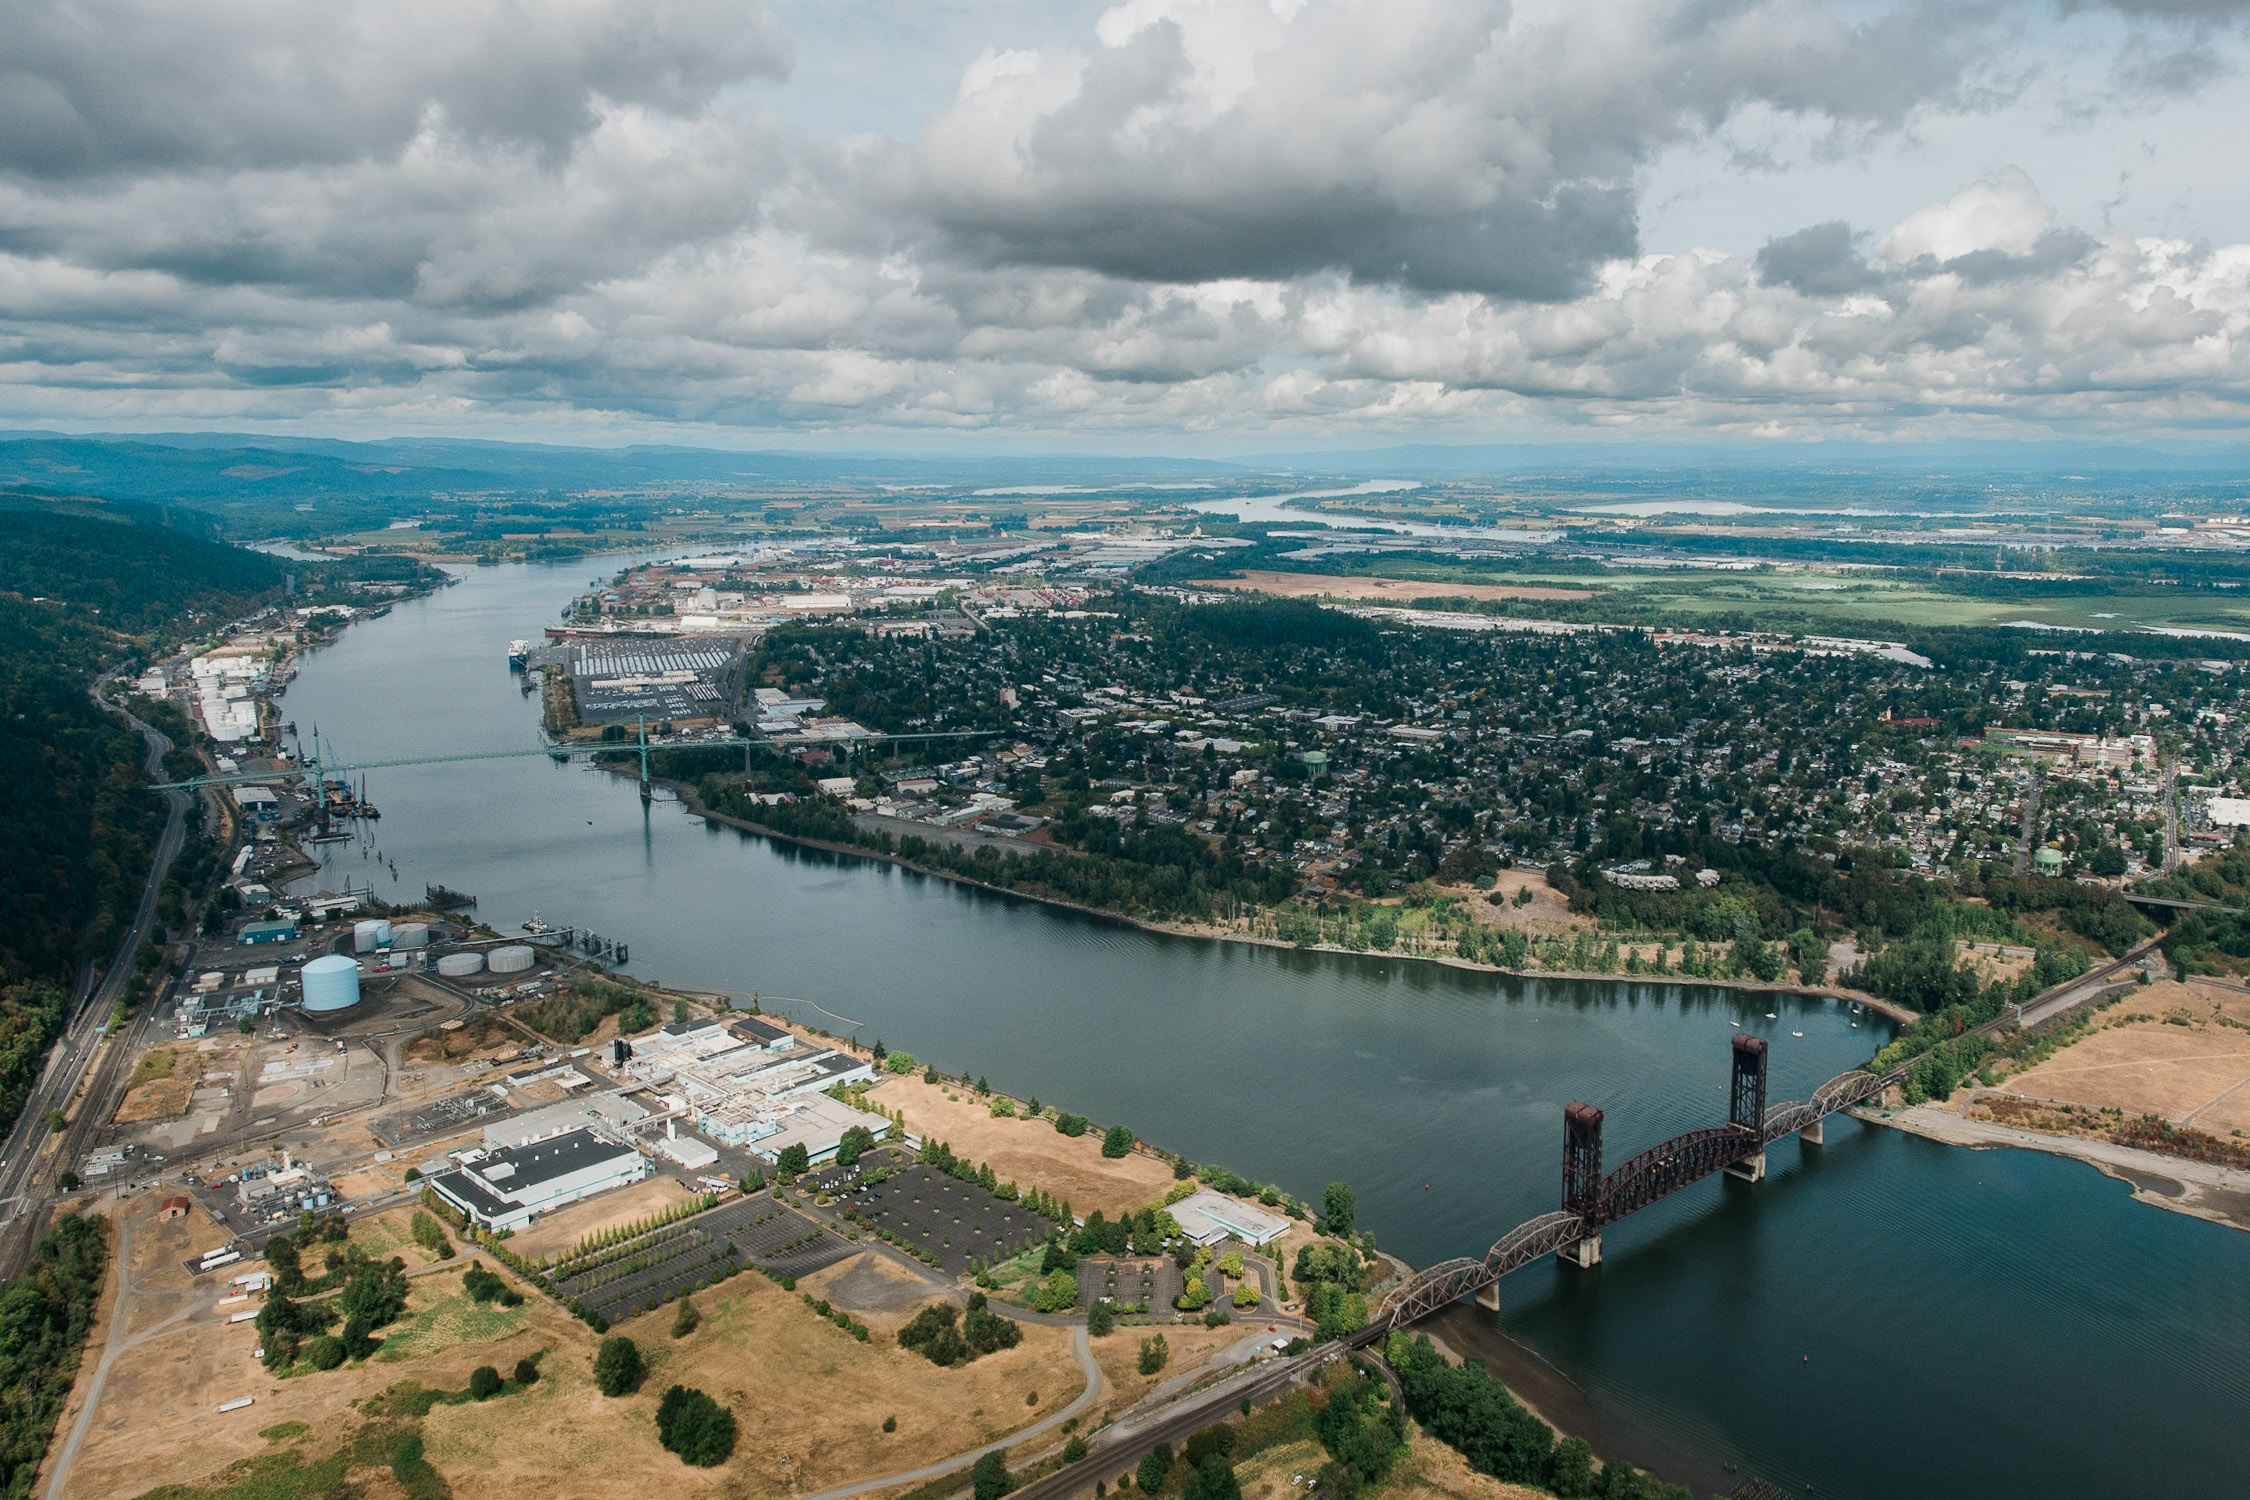
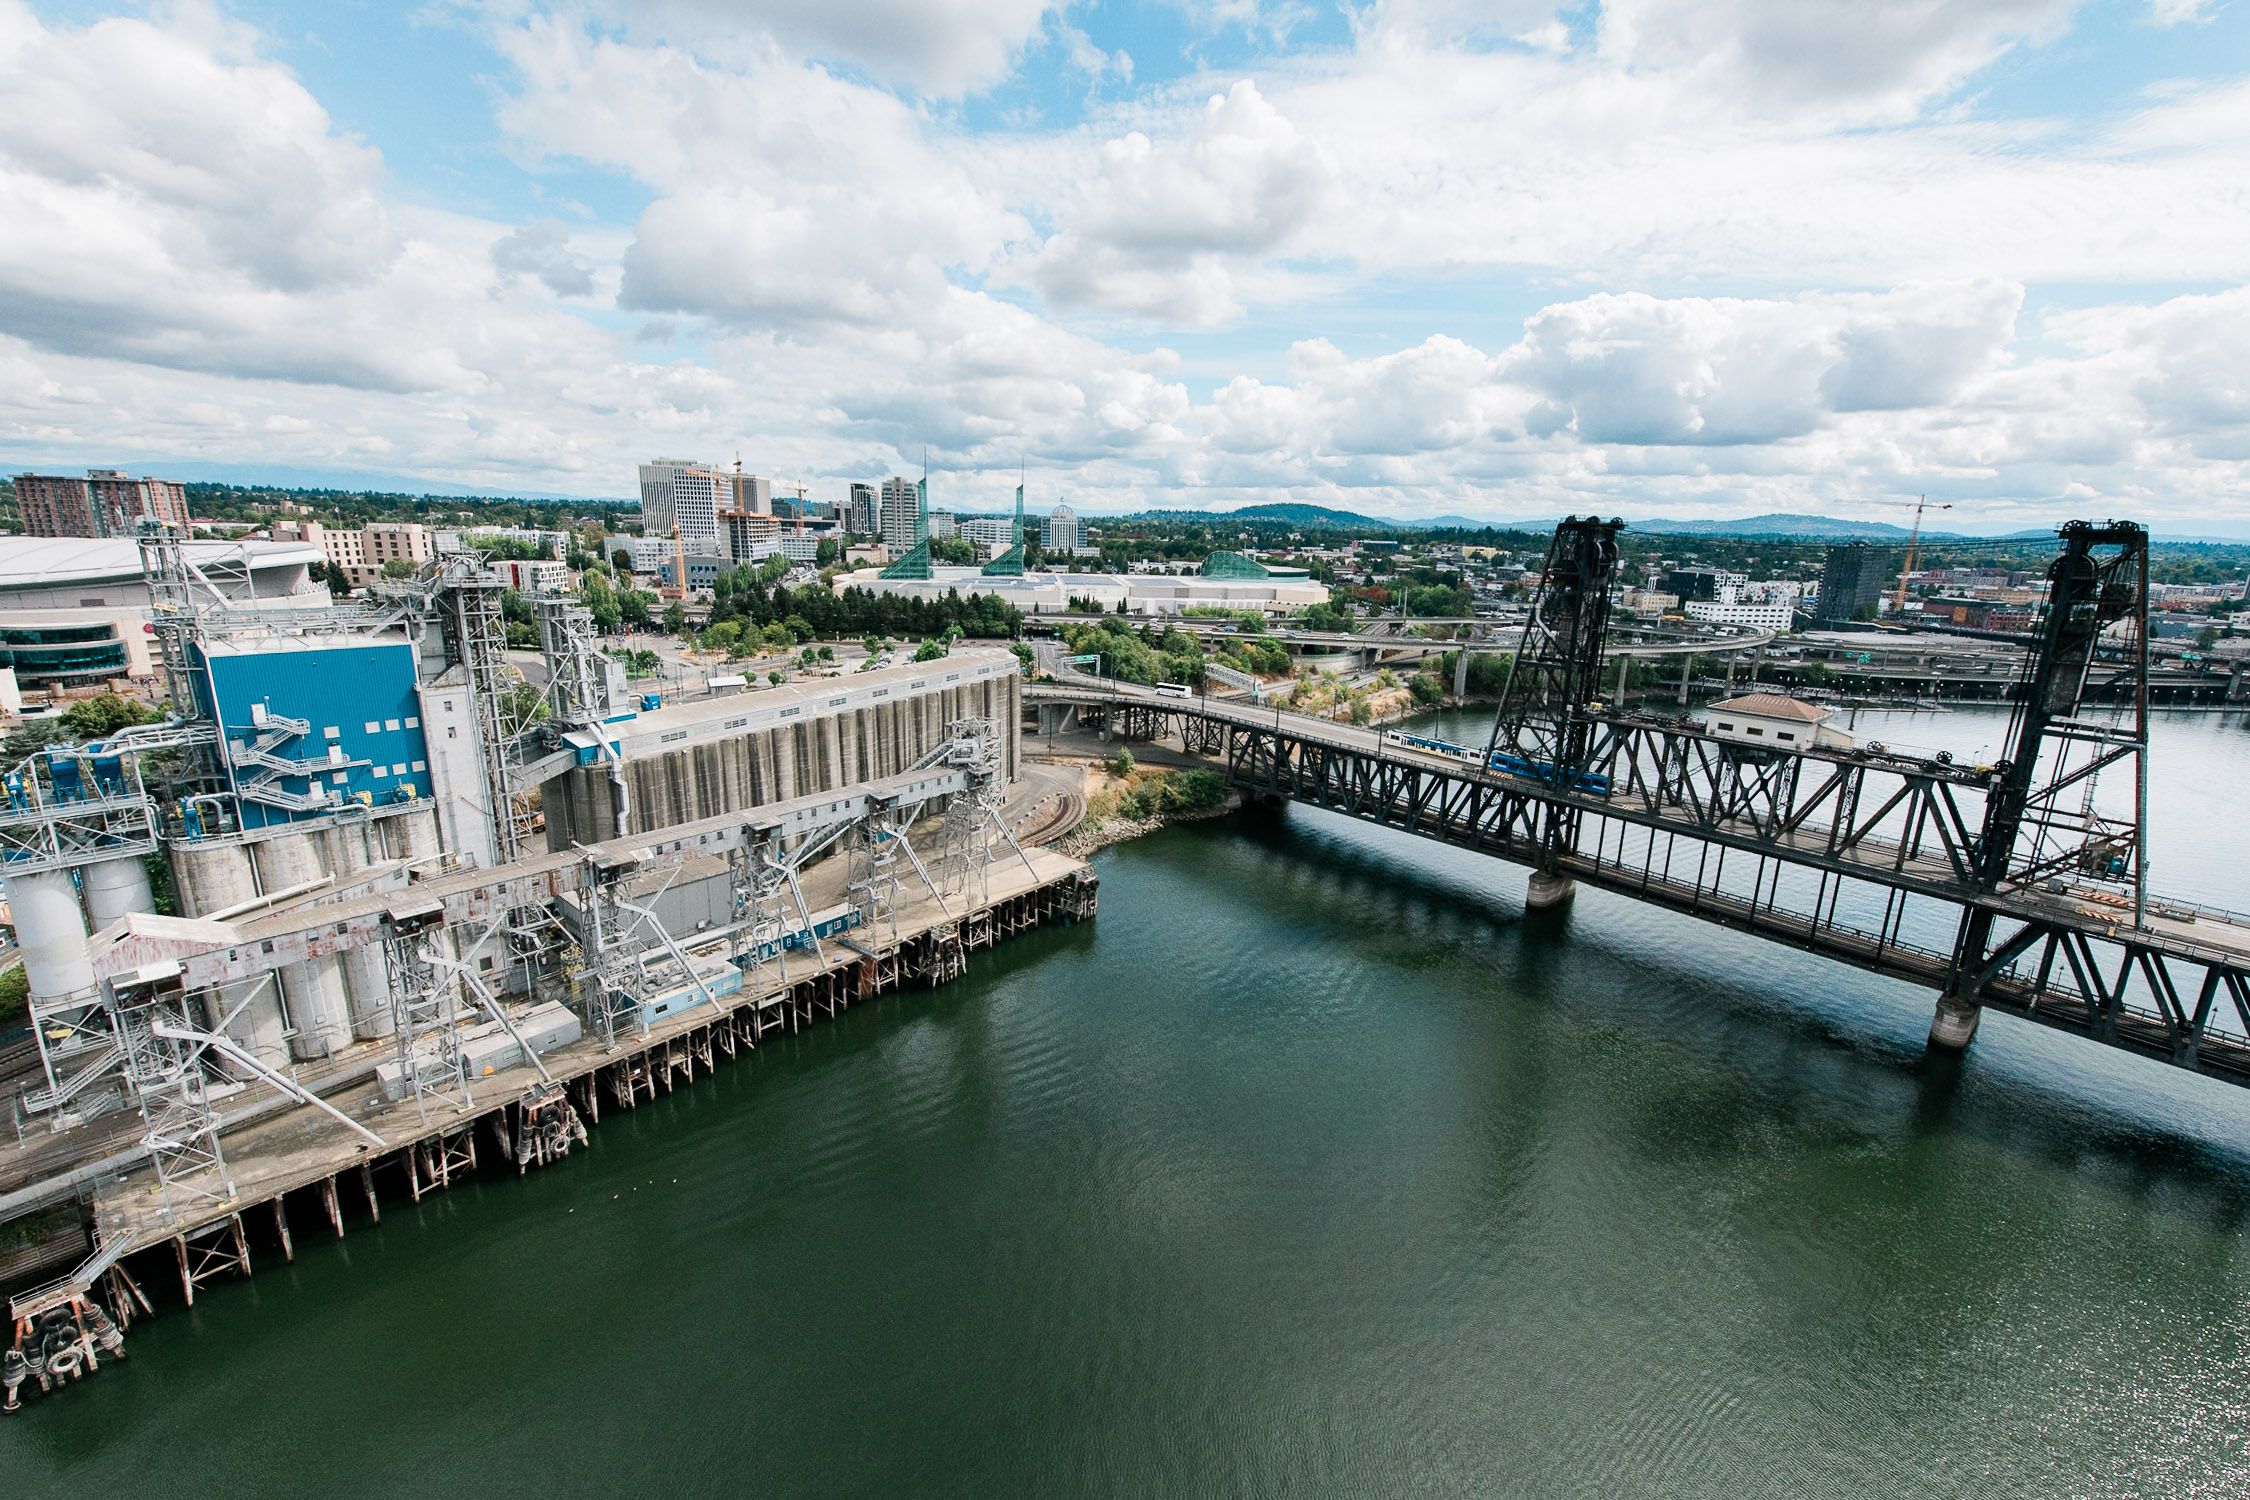
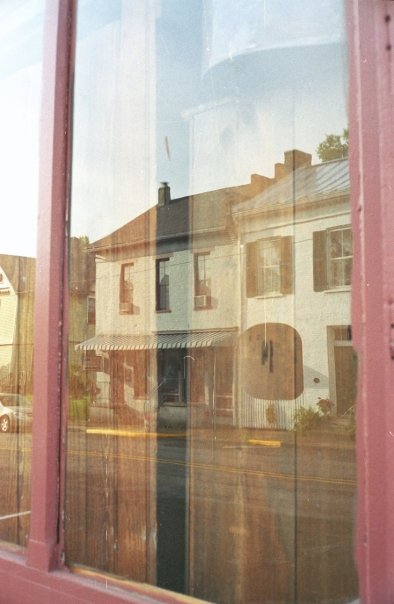
Enter my new favorite film, Kodak Pro Image 100.

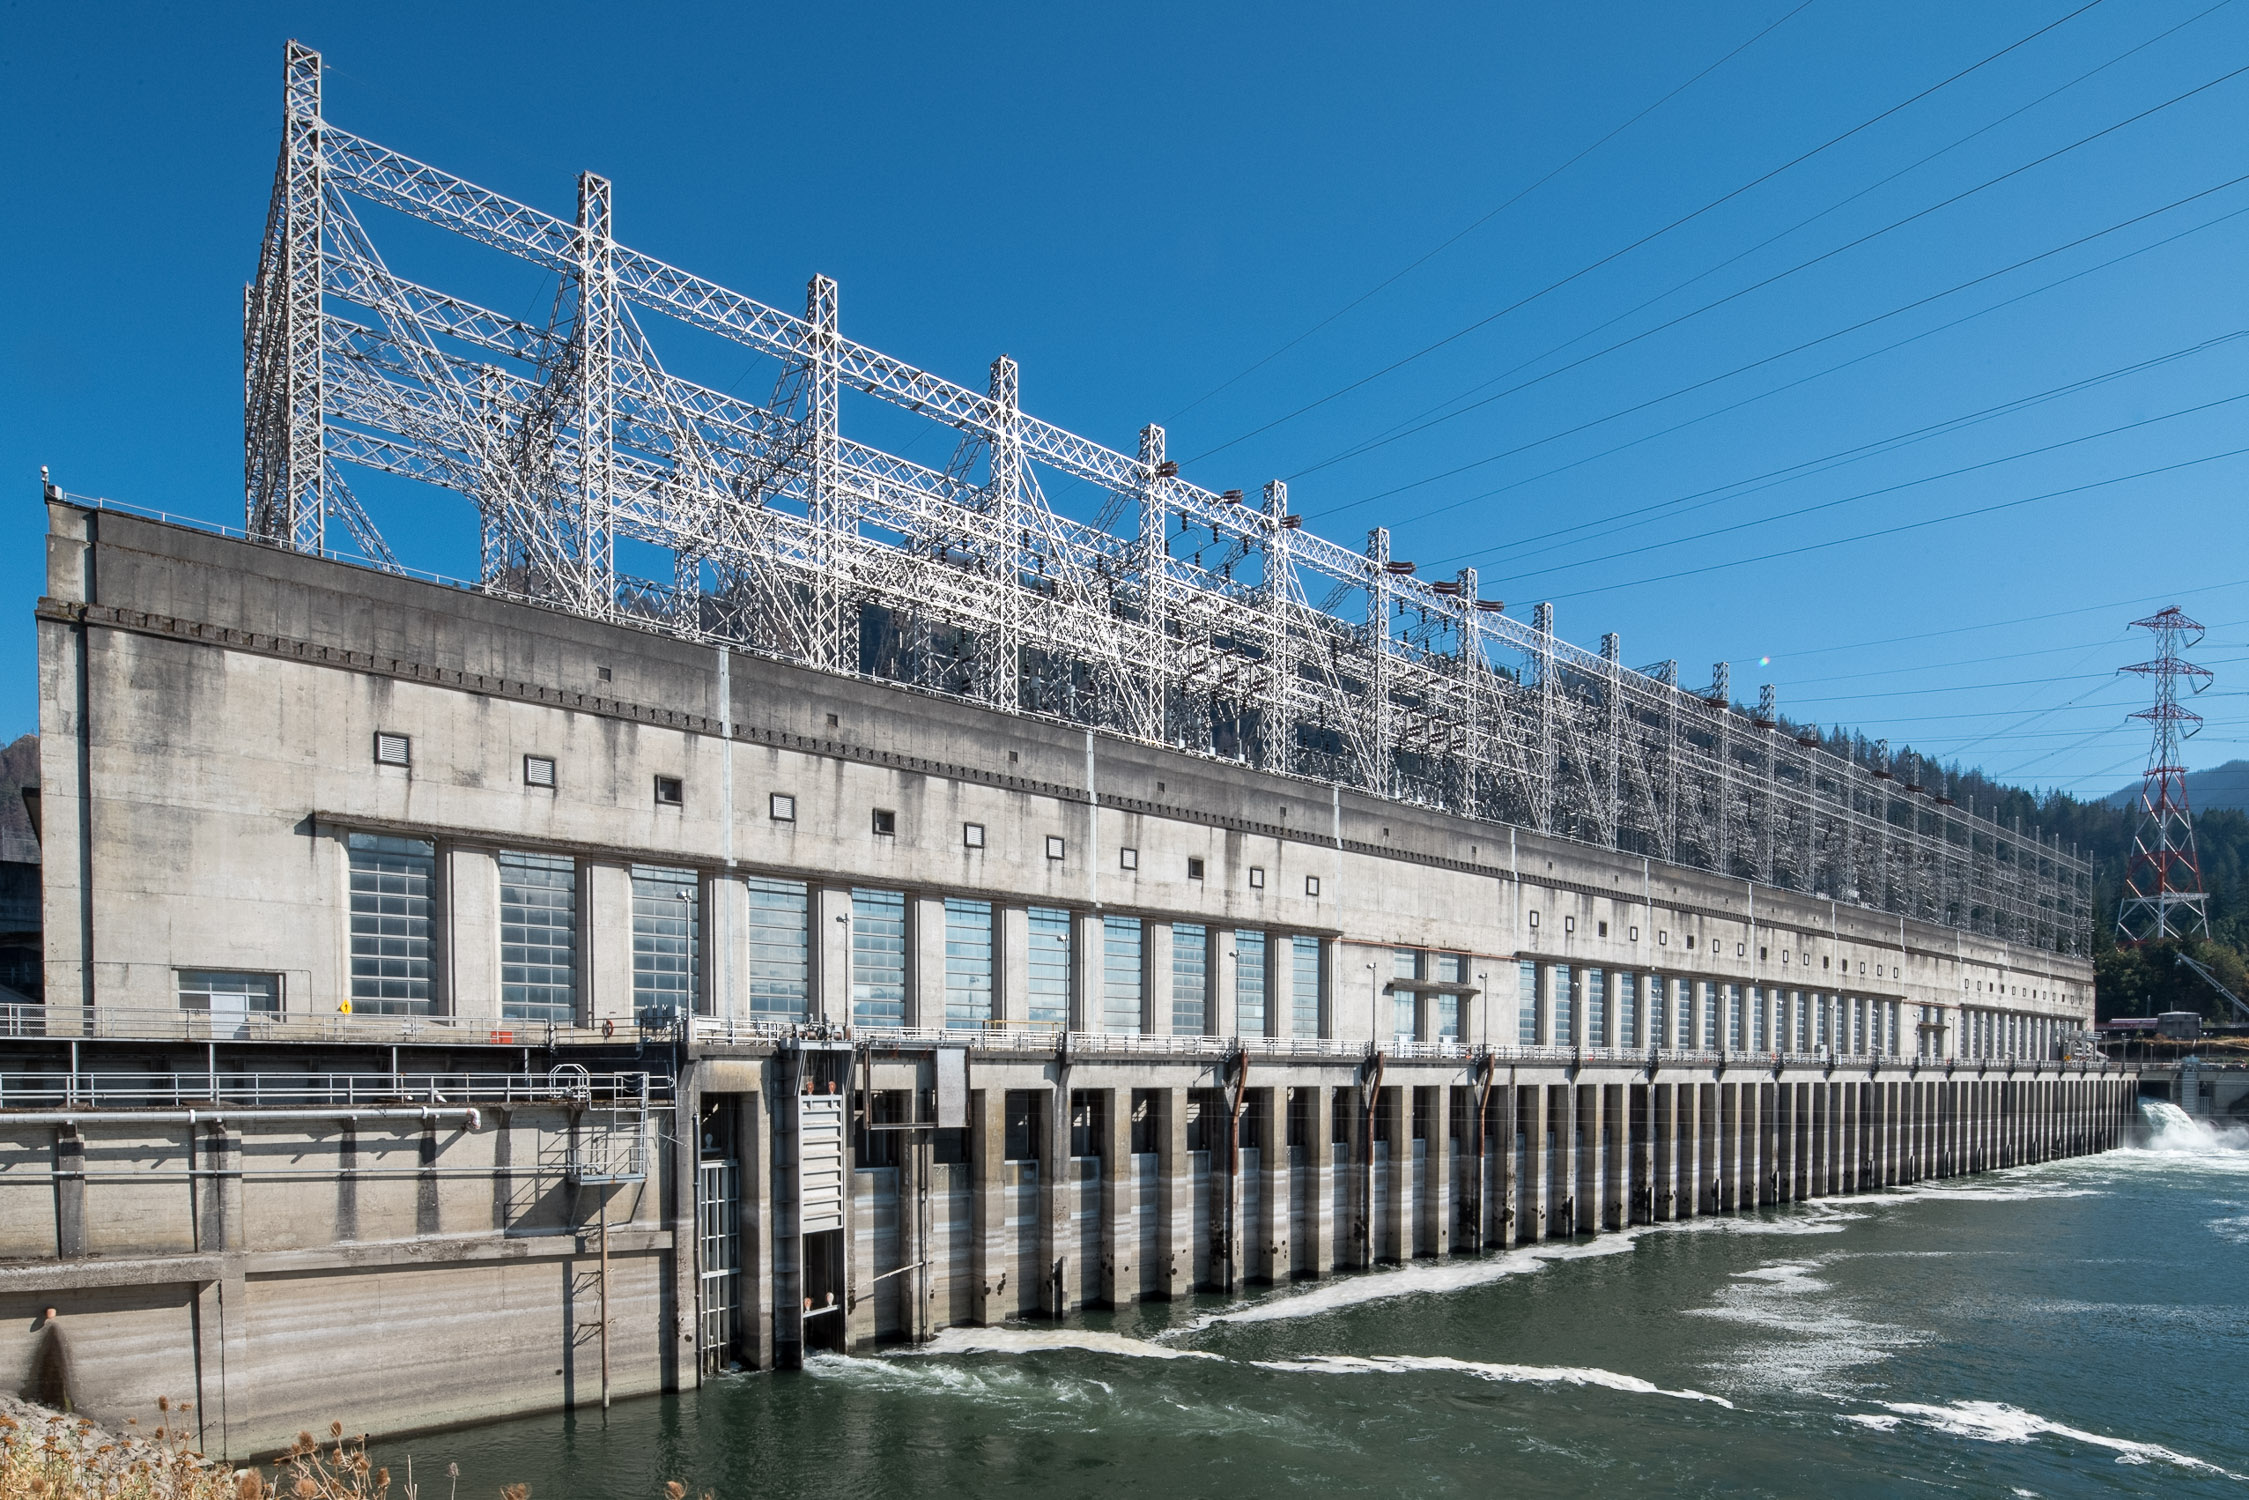
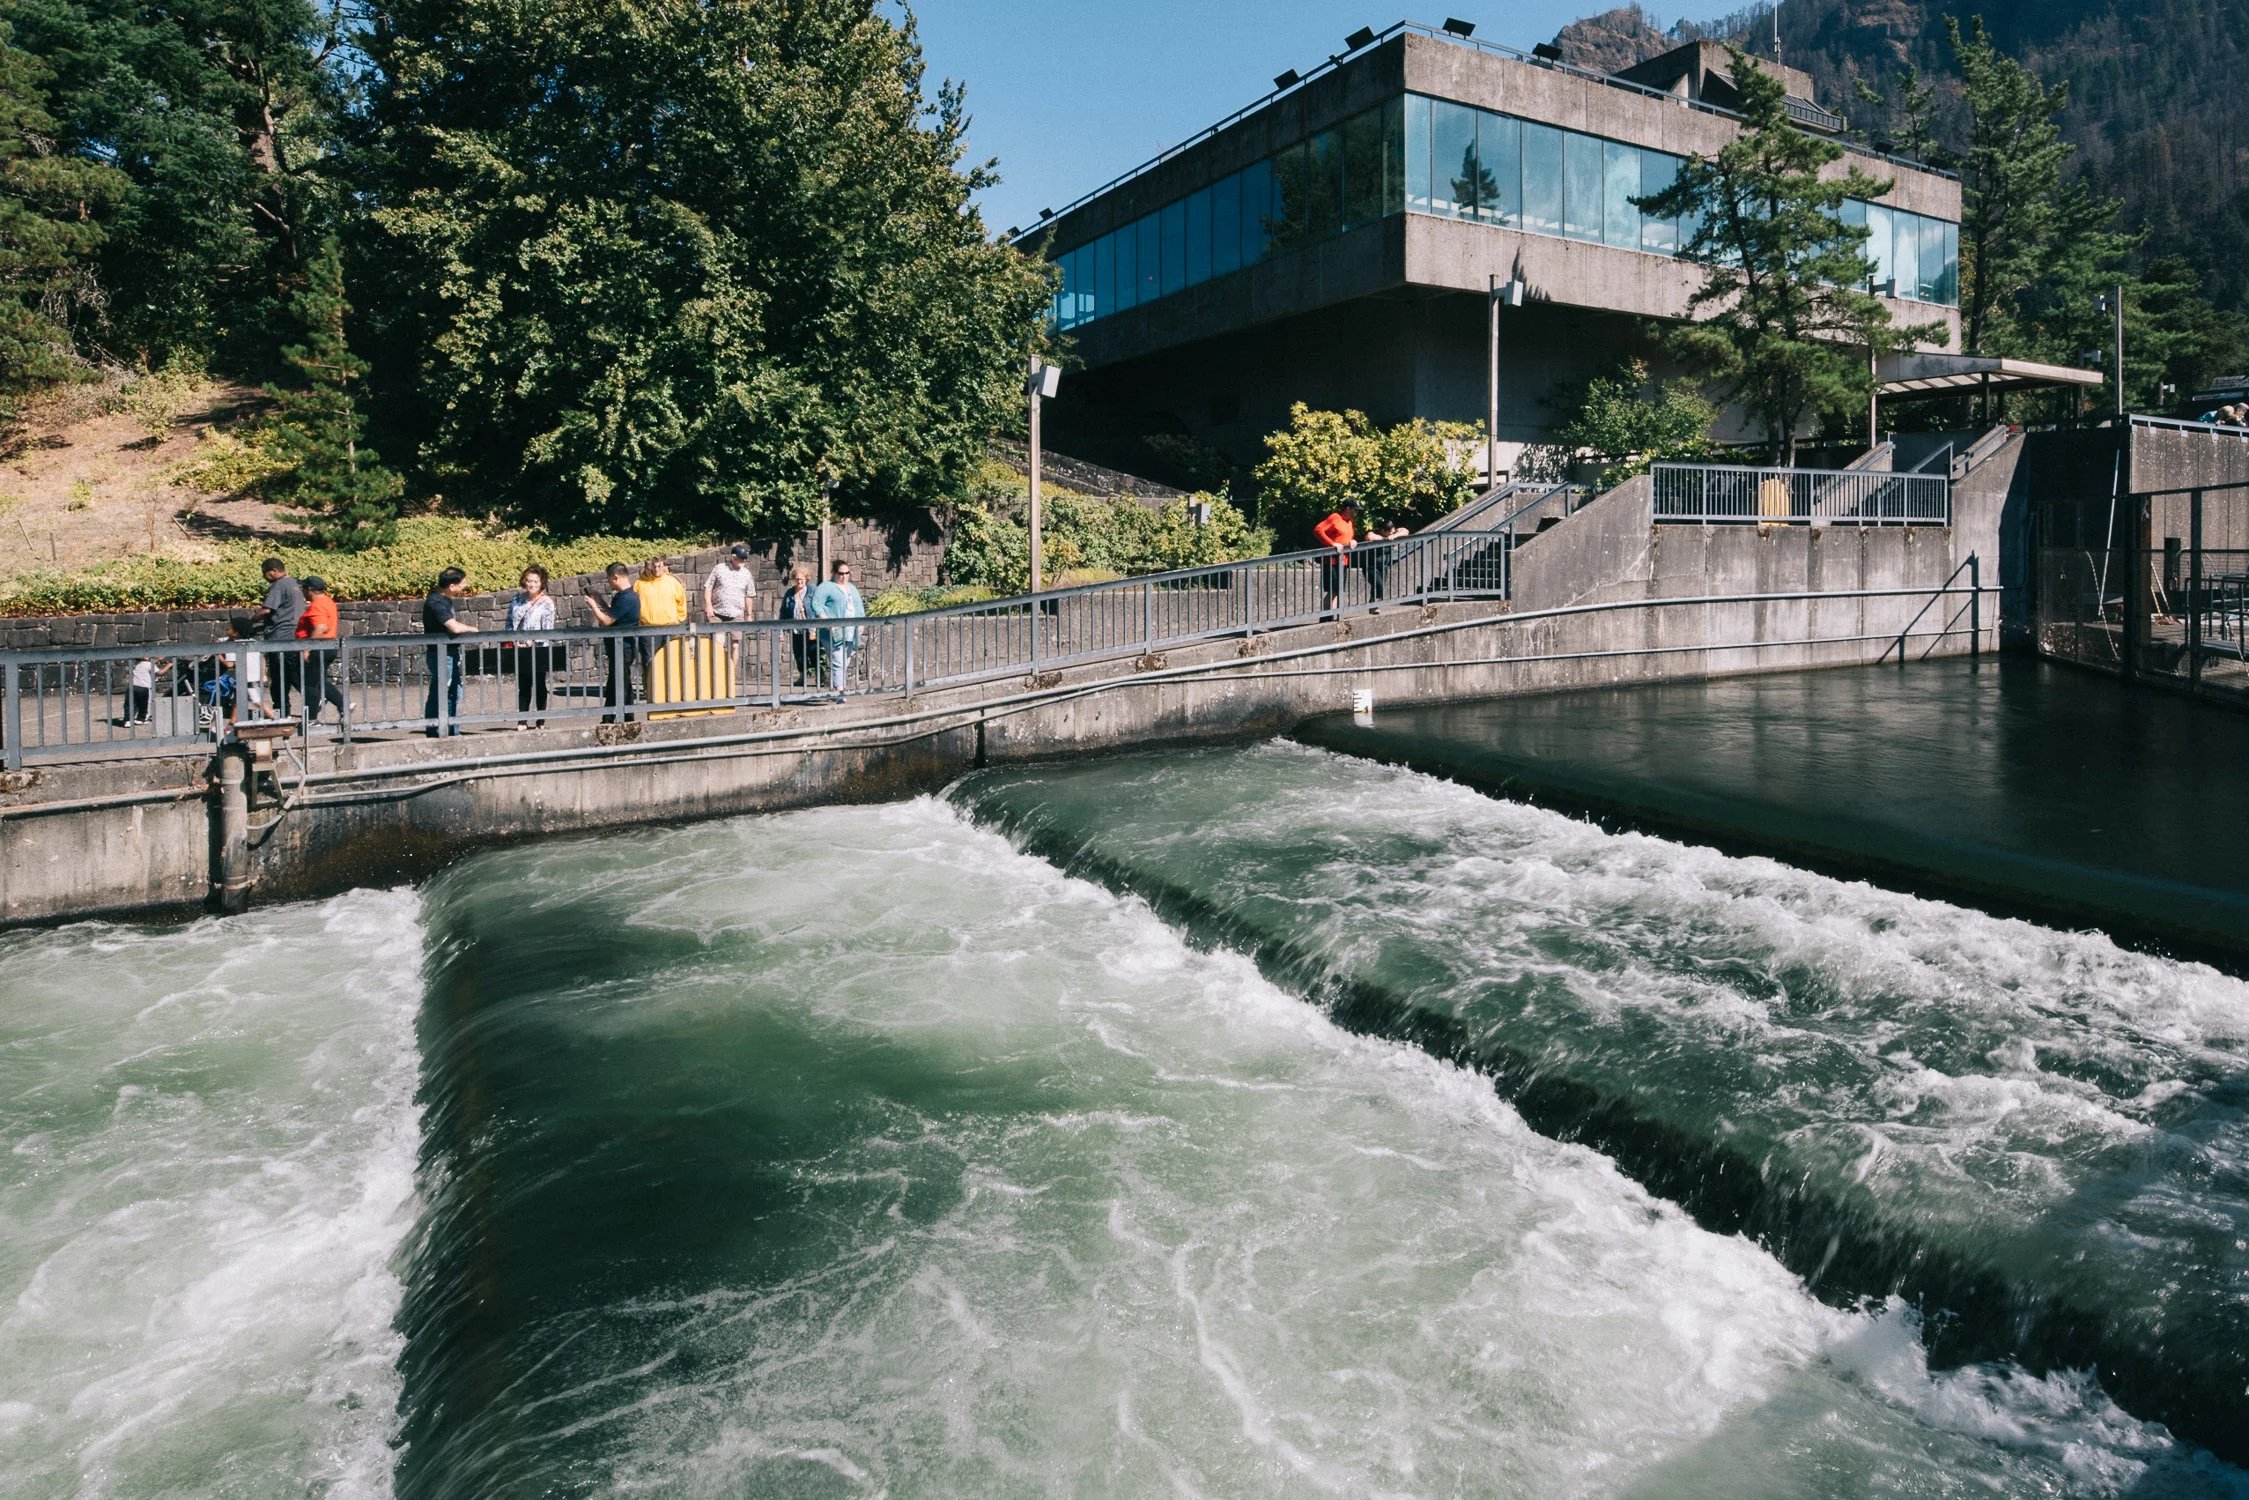
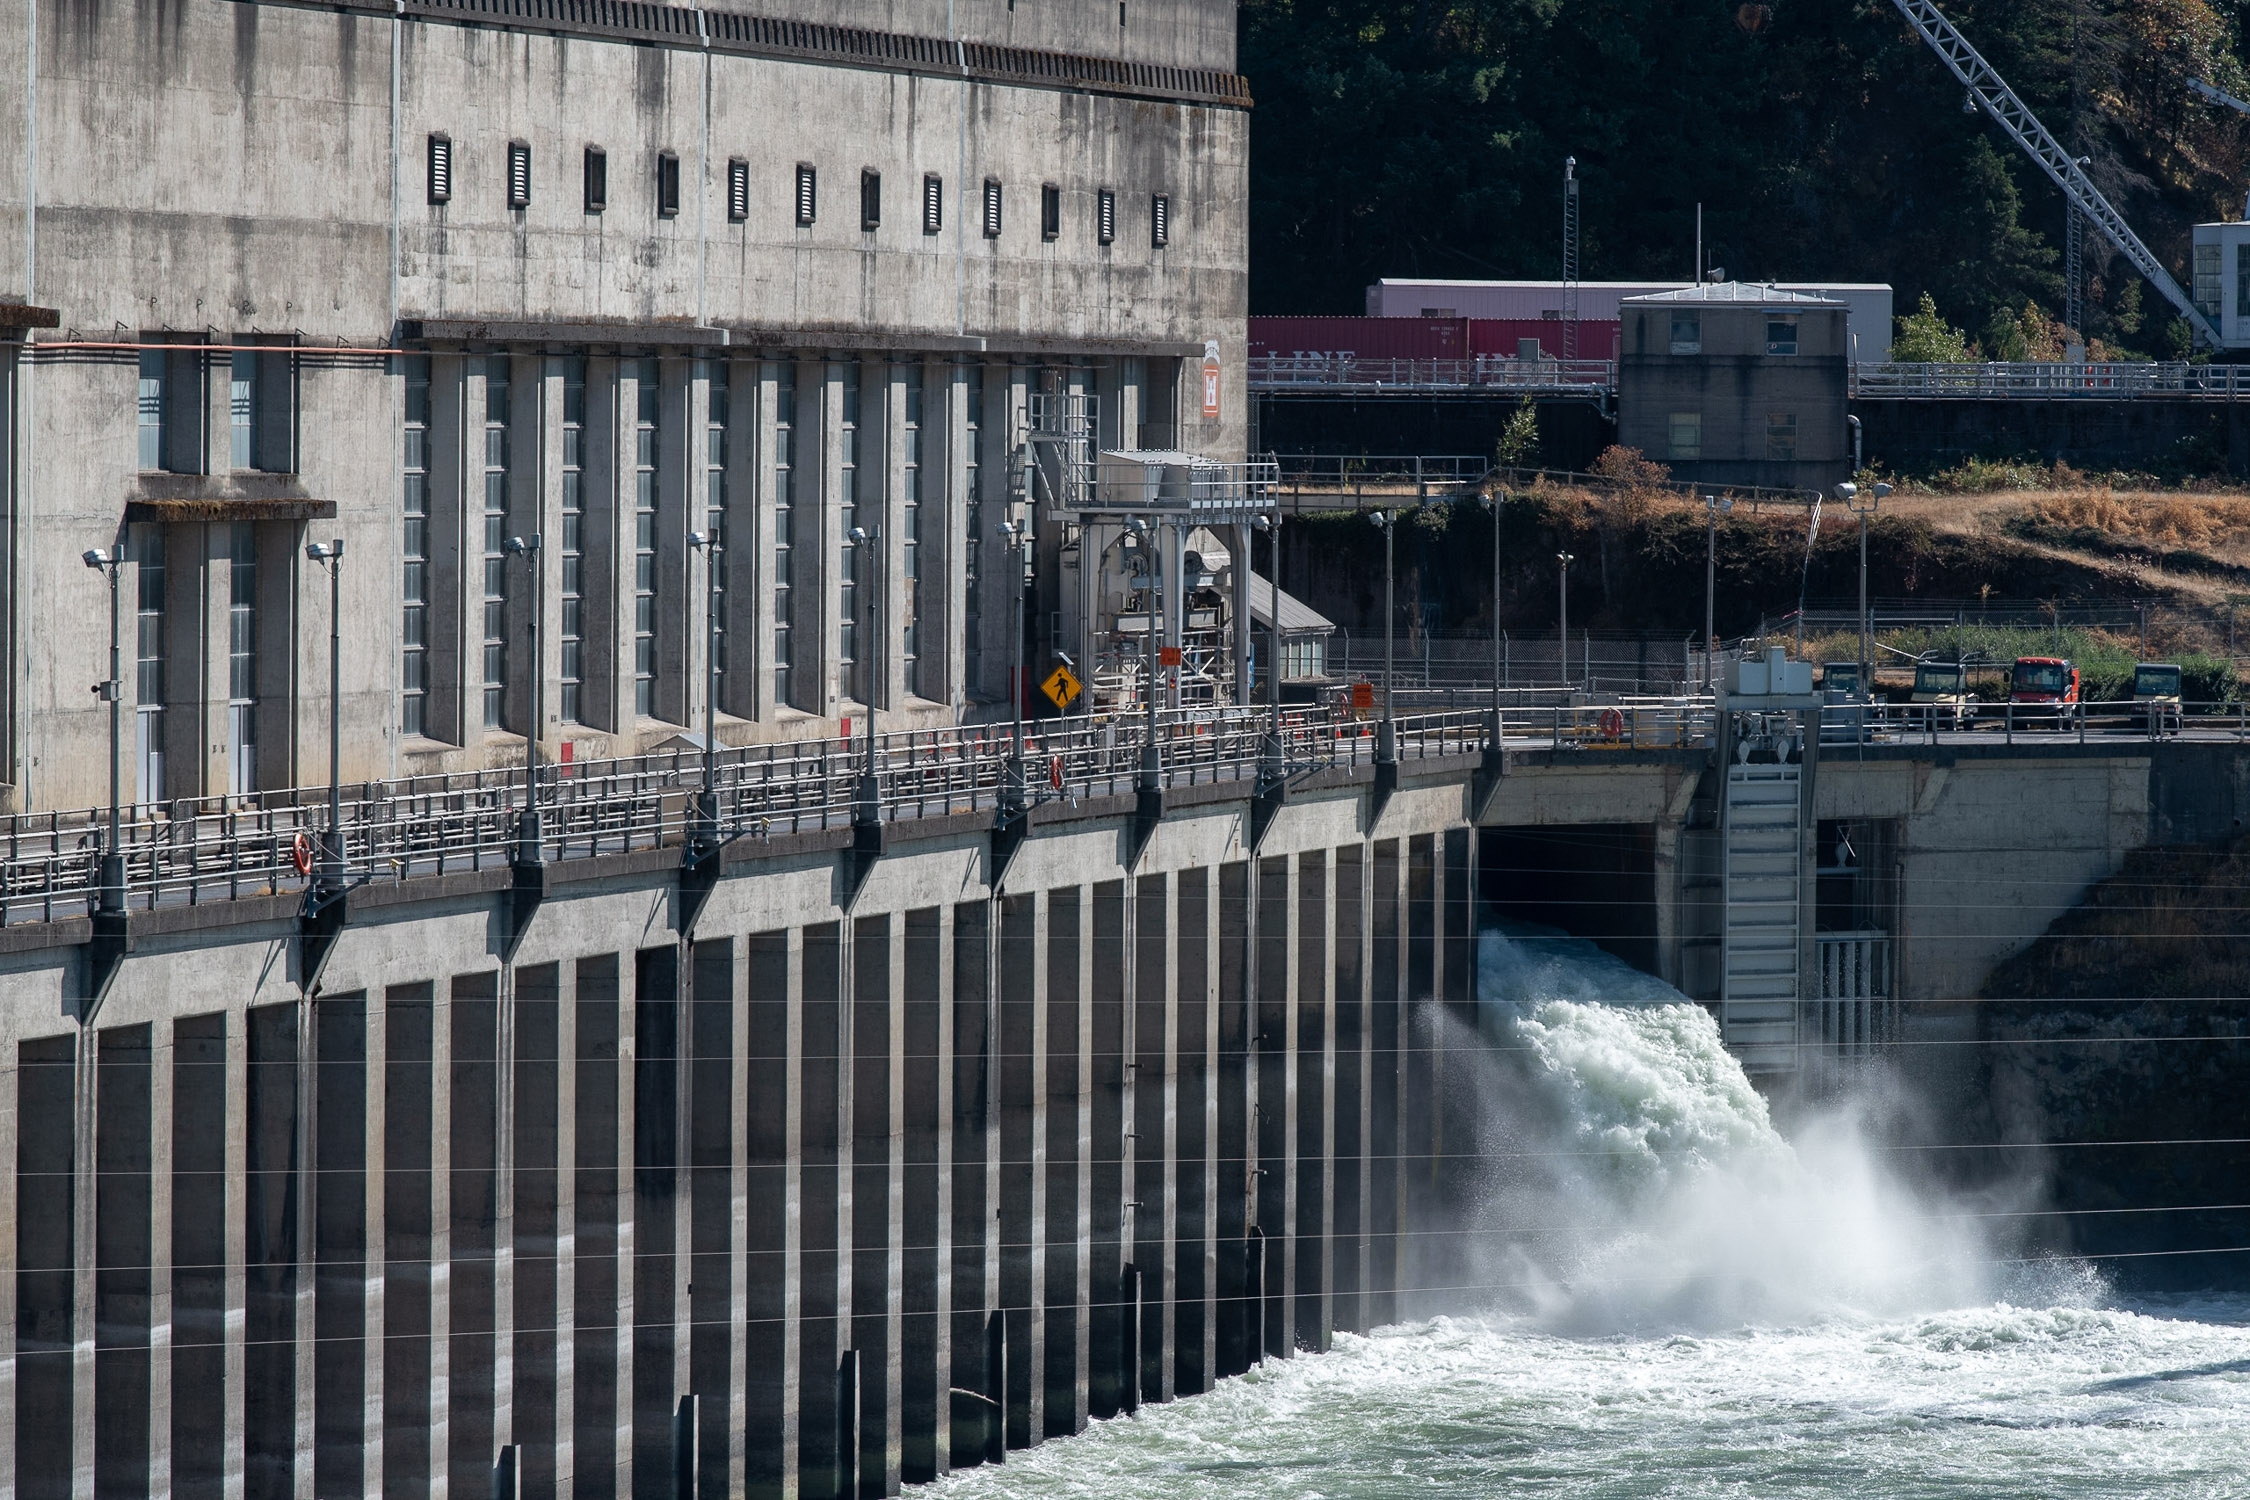
This film seems hyper realistic to me. It seems to render color in a beautiful, natural way. Don’t get me wrong, I love the way Velvia 50 will saturate colors, or how Ektachrome makes colors look nostalgic…But there is something magical about seeing these images look authentic to how I felt about the scenes when I shot them.

If you’re interested in purchasing this film, please check out Pro Photo Supply or Blue Moon Camera.

No longer on social media. by Kenton Waltz

Howdy!

I’m just letting y’all know that I have deleted my social networks. After watching the documentary The Social Dilemma on Netflix, I found myself called to market more ethically. Facebook and Instagram utilize unethical practices (in the form of AI algorithms) in order to manipulate users. The profound reach of these companies and the non-ethical algorithms should give pause to all of humanity. Our brains are being hacked and our emotions are being manipulated, all for the sake of profit. I recommend everyone look to local, community-based marketing solutions. If you look for my work online, feel free to start on my website.

Cheers,

Kenton

I conquered my fear of heights! by Kenton Waltz

Waltz.Kenton-1955.jpg

     Sometimes changing perspective is all you need to get a great shot. Most of my photographs are created at a height of 6 feet. To spice things up a bit, sometimes I shoot from the hip to give a more “street” look. Other times, I might climb onto a ladder to get a higher angle on my subject. And sometimes I climb into a helicopter to get a really different perspective. 

     Over the weekend I decided to face my fear of heights and take a helicopter tour of Portland. I used Oregon Helicopters out of their Old Town location. They were great! I had the idea, checked their schedule, called, and went up to their office/helipad. Literally within 15 minutes of deciding to fly, I was in the air. They even had an option for photographers where they take the door off so I can shoot without reflections. I highly recommend them. 

     For gear, I had the best DSLR I could bring  matched with the best lenses. I had a Nikon D850 for the camera body and three Nikkor lenses (70–200, 24–70, and 14–24).However, I was completely nervous and couldn’t bring myself to swap lenses. My fear of heights manifested into a fear of dropping my lenses. Luckily I lifted off with the Nikkor 14mm–24mm f/2.8 mounted to the body. This lens allowed me to capture the most amount of skyline in each shot. It was also great at interior cabin shots of the helicopter. 

     The flight was a bit nerve-racking because I have a huge fear of heights. The flight was much higher than I thought it would be and having the door off really made for a face-to-face view of my fear. Luckily I love photography and getting great shots helped to calm my nerves.  

     Overall, the change in perspective made for interesting shots of Portland. I’ve lived in this city for quite some time, but I’ve never seen it like this before. I highly recommend taking a helicopter tour of Portland. 

     Special thanks to my friend, Serwan, for being brave and spontaneous. He was with me when I had the idea and was crazy enough to say yes to an impromptu helicopter flight. 


How I spent my Labor Day weekend. by Kenton Waltz

Photography is my biggest driving force. It is my passion and my career. Because of this, it can be easy for me to overwork. With the start of my current marketing campaigns, I have been working a lot more 12-hour days than usual. I wake up and break out my laptop, then go to bed when the laptop closes... Labor Day weekend arrived at the perfect time... 

I decided to take this holiday seriously. I wanted to explore something outside of Portland. I needed something to look up at, to marvel. So I decided to rent a Car2Go and head to the Columbia River Gorge. Lucky for me I already had really nice rentals from a project with Oh! Creative. This included a Nikon D850, Nikon's best full-frame DSLR. With great gear and a fancy rental car, I headed east on 84. 

My first stop was the Bonneville Dam. This massive structure, built as a part of The New Deal, generates 5 Billion kWh of electricity each year. It is definitely a structure I could marvel at for a few hours. I wandered around the National Historic Landmark for a few hours, checking out the dam, the fish hatchery, and the fish ladders. 

As the sun started to set, I left the Bonneville Dam to find a good vantage for the setting sun. One of my favorite drives is the Historic Columbia River Highway. This road leads you through Corbett, OR to various sights (Vista House, Multnomah Falls, Latourelle Falls). Vista House is an obvious place to watch the sunset. BUT! Chanticleer Point is a great place to watch Vista House at sunset. Chanticleer Point is also known as Portland's Women's Forum State Scenic Viewpoint.

It was at Chanticleer Point that I setup the D850 to take advantage of it's 8k timelapse feature. Side Note: I love creating timelapse. They always seem to bring out the sense wonder in me. And let me tell you, an 8k timelapse is intense. It took about 12 hours to process and generated a 23GB, 50 second file. Please enjoy the timelapse video. Take note of the American Empress sternwheeler coming through the gorge and the birds flying away from Vista House. 

All in all it was a rejuvenating day. The fresh air and sight seeing did wonders for my creative batteries. I know I will be able to work much better this week because of my time off. I'll have to take time off again sometime. Maybe next weekend! 

Why clients receive Jpegs and not RAW files. by Kenton Waltz

     These days, most clients own or have seen advertisements for a camera that shoots RAW images. They might have heard RAW is something you want in a camera, but they might not understand what purpose RAW serves. Hopefully this post can shed some light on RAW vs Jpeg. 

      First things first… RAW is a type of file format. It captures the data from each photo-site on the sensor. The RAW file is meant to store raw, unprocessed data. Because of all that data, the files are large, often 20–30 times larger than a jpeg. It is all this data that makes RAW files perfect for editing. Once the file is opened in a photo editor, the photographer can manipulate the data into the desired image by changing things like white balance, contrast, clarity, saturation, sharpness, etc.  

     Jpeg is a compression format. It is a thin slice of that Raw data from the sensor. Think of it as an interpretation of the data contained in the RAW file. When you save an edited photo as a Jpeg, you are cutting out all the malleability in the Raw file. 

     As a photographer, you want to shoot in RAW format and deliver Jpeg files to your client. Doing this will give you all the ability to manipulate images in post production, and give your clients manageable files that they can’t edit. After all, It is your job to shoot and edit a beautiful photograph. Then you want to deliver that masterpiece to your client. Your client needs a beautiful and manageable image for their marketing and promotional purposes. 

Top 5 essentials for Great Event Photography by Kenton Waltz

American Heart circle of RED. waltz.kenton.jpg

Top 5 Essentials

For Great Event Photography

Howdy Folks, 

This is not an exhaustive list (trust me, you'll need spare batteries too). However, these are the things I recommend most to photographers starting their careers. Feel free to ask questions in the comments. 

Waltz.Kenton-0434.jpg

Hot-Shoe Flash

No. 1

1. Hot-shoe Flash

I just had this discussion with a budding photographer in town (Hi, Kenny!). The speedlight (aka Hot-Shoe, Mounted Flash) is one of the most important tools in my event photography setup. My flash (Nikon SB-6000) is what allows me to light my subjects when sunlight is not available. This comes in handy considering that most events are held indoors and at night. A powerful feature of most professional speedlights is their ability to change the direction of the flash. I can tilt the flash head 360˚. Thus providing a dynamic lighting situation.

Waltz.Kenton-0436.jpg

Lens: 24–70mm f/2.8

No.2

2. Lens: 24-70mm f/2.8

The lens every event photographer should own... The 24-70mm f/2.8 lens is essential for event photography. 24mm is wide enough to include the context of most events. The wide angle allows you to position your subject in the foreground whilst showcasing the venue, decor, dance floor, signage, etc in the background. At the 70mm end of the lens, you can zoom in for reasonably tight portraits, details, shots across the dance floor, etc. Best of all these lenses are great in low light. The f/2.8 aperture is large enough to let in most dimly lit events. This aperture also allows for low depth of field shots, letting you isolate the subject. If you stick with a name brands (Nikon, Canon, or Sigma Art), you’ll really enjoy the sharpness and constant apertures of the 24-70 f/2.8 lens.

Waltz.Kenton-0441.jpg

Full Frame DSLR

No.3

3. Full Frame DSLR

A full frame DSLR really helps in low-light photography. The sensor of a full frame camera is nearly twice as large as the crop frame counterpart. The larger the sensor, the more surface area available to absorb light. The full-frame sensor greatly improves the camera’s low light performance. The larger surface area also allows the manufacturer to space the pixels farther apart, thus greatly reducing the noise in the image. Example: My Nikon D750 (full frame) can very comfortably shoot at ISO 1250 without any visible noise, whereas my Nikon D7200 (crop frame) can barely shoot at ISO 800 before it starts having noise appear in the image.   

4. Manual Settings

Shooting in manual priority mode is key for event photography. It empowers you to make choices as the photographer. It also simplifies the editing process. For most events, I change my settings just a handful of times. I usually change my settings based on the lighting environments of the event. If all the photos are in a large ballroom, I’ll set my ISO, Aperture, Shutter, and Flash output to what works in that scene. Then, I should only really change my settings if I leave the ballroom (into a different lighting environment). Once I get into the editing phase, I can pretty much batch edit my photos, because each photo shot in the same settings and lighting environment should look about the same straight out of the camera.

5. Comfortable Shoes

This one is tricky. I know some events will have dress code (formal vs dress casual), BUT please consider: event photography is an active job. I rarely sit at any event. I have to constantly observe the action and be ready to move to the best vantage at a moment’s notice. Sitting is not part of the event photographer job description. Knowing that, I highly recommend getting a pair of shoes that provides a lot of comfort in a quiet design. Black tennis shoes, dark toned hiking shoes, etc. I wear my Keen hiking shoes for most events. I’ve never had any complaints from clients about my shoes. If a client did complain about my shoes, I would explain to them all of the above. A guest to an event will probably sit for most of their stay, so they can wear a stiletto heel. The photographer on the hand, you want them able to move around to get the best shot. No one will remember the shoes I wore to an event...But they will definitely remember an image I shot.

My first blog post... by Kenton Waltz

This is my first blog post. I’m writing it somewhat begrudgingly. As someone who sees the world through photographer’s eyes, I’m used to telling stories with images and not words. But! Posting gallery after gallery of images on my facebook page is not working very well for my analytics. According to one of my producers (Liz), blogs are crucial to keeping the analytics of a website on the upswing. 

So here we are… My first post, on my first blog. In this post, I’m going to feature some of my very first photographs. These images, shot on film, are quite emblematic of my ethos: I want to help people realize who they are. These images are definitely a fumble of sophomoric skill, but the subject matter is an exploration of my friends, Brianna and Nick, and their home towns. 

Ps. This was my first roll of film shot at Ball State University. Estimated date of shoots 2007.